


Wet-on-Wet Techniques in Watercolor

Introduction:
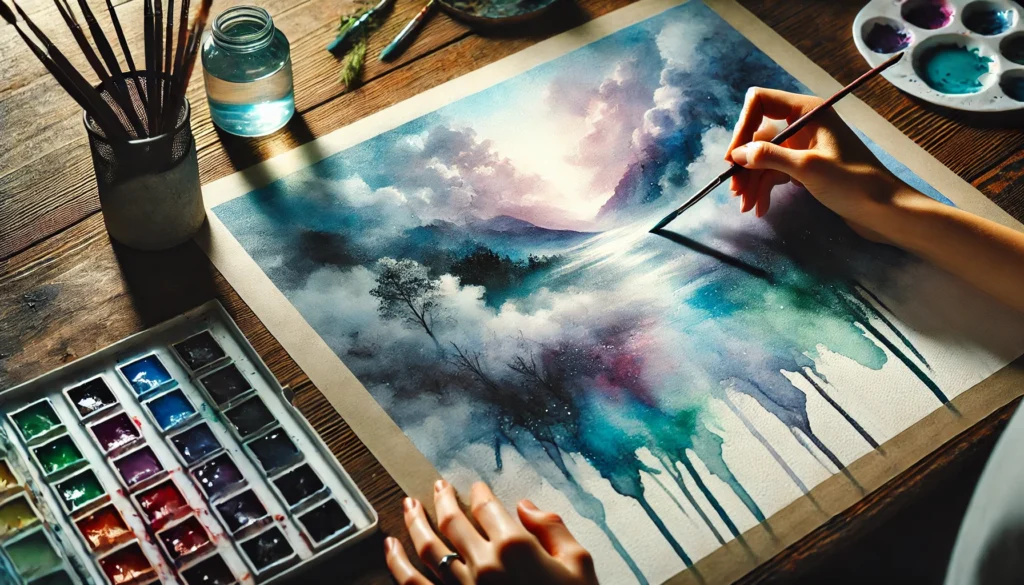
The wet-on-wet technique is one of the most magical aspects of watercolor painting. By applying wet paint onto a wet surface, you can achieve soft blends, organic shapes, and fluid effects that are perfect for skies, clouds, water, and abstract designs.
Materials Needed
- Watercolor Paint: Choose transparent or semi-transparent colors for best results.
- Brushes: Large round or flat brushes for washes and smaller ones for details.
- Watercolor Paper: 140 lb (300 gsm) cold-pressed paper to hold water without buckling.
- Water Containers: One for clean water and another for rinsing brushes.
- Palette: For mixing colors.
- Tissue or Rag: To blot excess water or paint.
- Masking Tape: To secure your paper.
Step 1: Prepare the Paper
- Secure your paper to a flat surface with masking tape.
- Use a large brush to evenly wet the area of the paper you want to paint. The surface should be shiny but not pooling with water.
Step 2: Prepare the Paint
- Mix your chosen watercolor paints on the palette with enough water to create fluid but vibrant colors.
- Test the paint consistency on a scrap sheet. It should spread easily without being too runny.
Step 3: Apply the Wet-on-Wet Technique
- Drop the Paint:
- Gently touch the tip of your brush loaded with paint to the wet paper.
- Observe how the paint blooms and spreads naturally.
- Blend Colors:
- Add another color next to the first while the paper is still wet.
- Let the colors merge and blend organically for soft transitions.
- Control Flow:
- Tilt the paper slightly to guide the flow of paint.
- Use a clean brush to lift or redirect paint if needed.
Step 4: Enhancing the Effect
- Soft Edges: Use clean water to dilute edges and create subtle fades.
- Layering: Once the first layer is dry, add another wet-on-wet layer for richer textures.
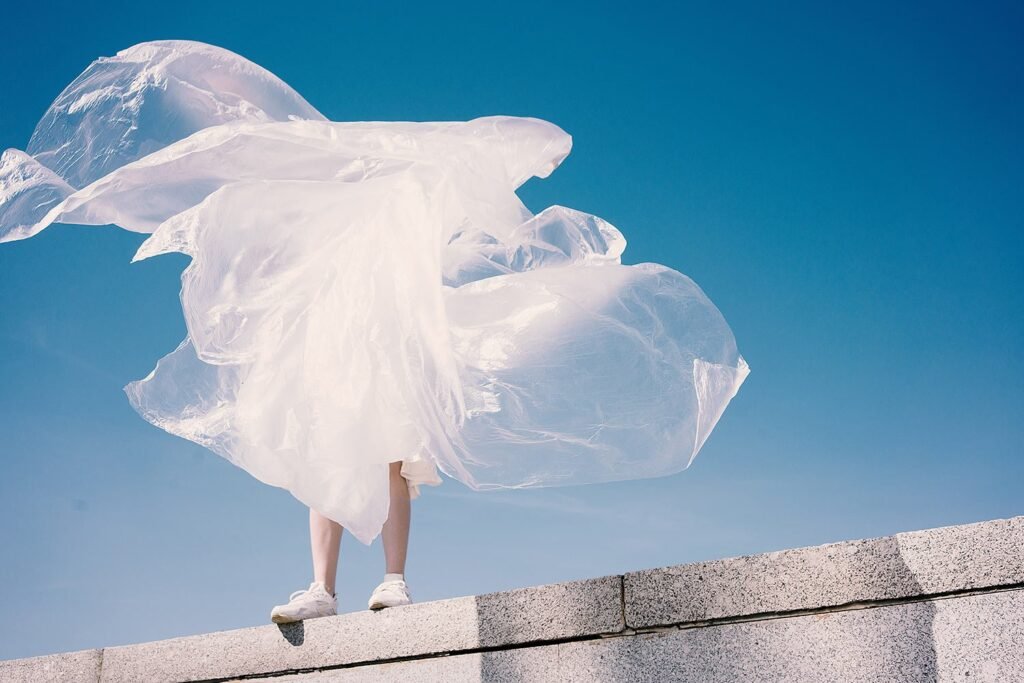
- Textures: Sprinkle salt, use plastic wrap, or spatter water while the surface is still wet for unique textures.
Step 5: Let It Dry
Allow the painting to air dry completely. Avoid using a hairdryer, as it may disrupt the natural flow of the paint.
Tips for Success
- Control Water: Too much water causes colors to spread uncontrollably; too little results in uneven blends.
- Work Quickly: The paper must remain wet for the technique to work effectively.
- Practice First: Test on scrap paper to understand how colors interact and spread.
- Use High-Quality Paper: Cheaper paper may not handle the water well and can tear or warp.
Exercise: Practice Wet-on-Wet Techniques
- Cloudy Sky:
- Wet the paper and apply blue paint for the sky.
- Drop clean water or white paint to lift areas and create cloud-like shapes.
- Abstract Design:
- Wet the entire paper and drop multiple colors randomly.
- Allow them to blend and form unique shapes.
- Simple Landscape:
- Wet the paper for the background and apply colors for a distant sky or horizon.
- Add darker colors while it’s still wet for depth.
Common Mistakes and How to Fix Them
- Uncontrolled Spreading: Use less water or allow the paper to dry slightly before adding paint.
- Harsh Lines: Add clean water around the edges to soften them.
- Buckling Paper: Use heavier paper or stretch your paper before painting.
Applications of Wet-on-Wet
- Landscapes: Skies, seas, and misty mountains.
- Abstract Art: Organic shapes and textures.
- Backgrounds: Soft, dreamy effects for portraits or still life.
Conclusion:
The wet-on-wet technique is a cornerstone of watercolor painting, offering endless creative possibilities. Experiment with colors, textures, and patterns to unleash your creativity.
Would you like a step-by-step project using this technique, like painting a rainy day or a sunrise?