


Tutorial: Drawing Basics for Beginners
Introduction:
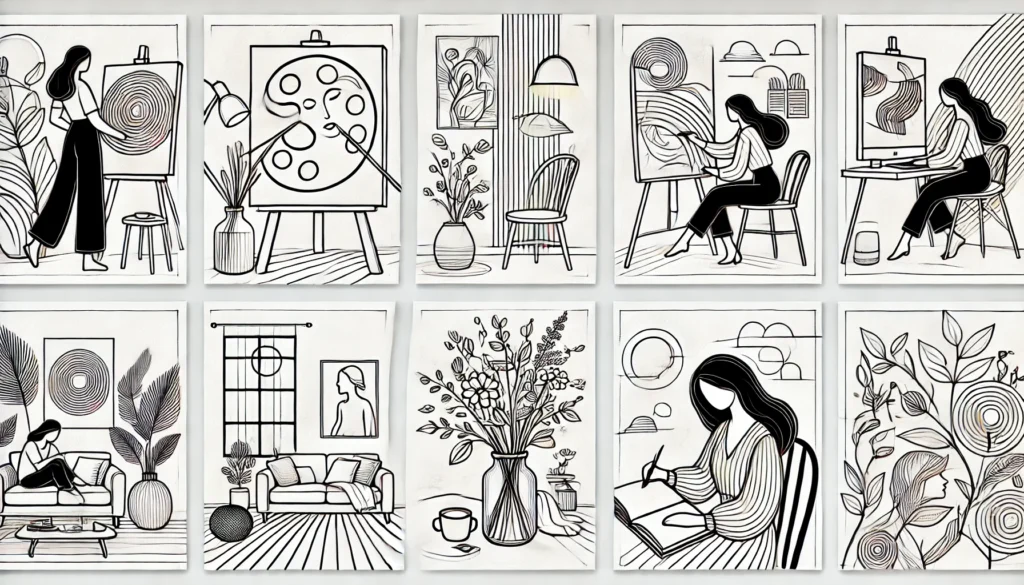
Drawing is the foundation of all visual art. It develops hand-eye coordination, observation skills, and creativity. This tutorial will guide you through the essential techniques of drawing, step-by-step.
Materials Needed
- Pencils: HB, 2B, 4B, 6B (for different shading intensities).
- Erasers: Kneaded eraser and regular eraser.
- Sharpener: Ensure fine pencil points.
- Paper: Smooth or textured sketching paper.
- Ruler: For straight lines and proportions.
- Blending tools: Tissue paper, blending stumps, or cotton swabs.
Step 1: Holding the Pencil
- Grip: Hold the pencil lightly to allow fluid movements. Use the tip for details and the side for shading.
- Position: For precision, hold close to the tip; for sketching, hold farther back.
- Pressure: Practice varying pressure to create light and dark lines.
Step 2: Basic Lines and Shapes
- Start by drawing straight lines, curves, and spirals.
- Practice connecting dots to create smooth arcs.
- Draw simple shapes: circles, squares, triangles. These are the building blocks of complex forms.
Step 3: Shading Techniques
- Hatching: Parallel lines to create depth and texture.
- Cross-Hatching: Overlapping lines in different directions for darker tones.
- Blending: Use a blending stump or tissue to smooth the transitions.
- Stippling: Dots to build texture and value.
Exercise: Draw a gradient from light to dark using each technique.
Step 4: Perspective Basics
- 1-Point Perspective: All lines converge to a single vanishing point. Practice by drawing a road or hallway.
- 2-Point Perspective: Two vanishing points create realistic depth, ideal for buildings.
- 3-Point Perspective: Add a third vanishing point for dramatic angles.
Exercise: Sketch a simple cube using each perspective type.
Step 5: Light and Shadows
- Source of Light: Identify the direction of light.
- Highlight: The brightest area where light directly hits.
- Shadow: Dark areas opposite the light source.
- Cast Shadow: The shadow an object casts on a surface.
Exercise: Draw a sphere with shading, showing highlights, mid-tones, and shadows.
Step 6: Drawing from Observation
- Contour Drawing: Focus on the outline of objects without lifting the pencil.
- Negative Space: Draw the spaces around the object to understand its form better.
- Grid Technique: Divide your reference and paper into grids to maintain proportions.
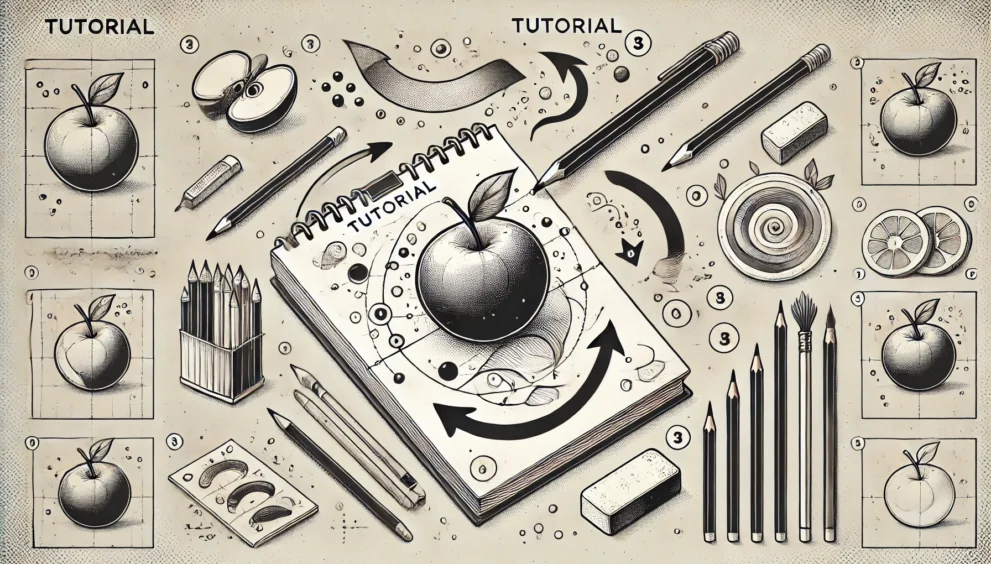
Exercise: Choose a simple object like a cup or an apple and draw it from observation.
Step 7: Adding Details
- Use fine lines for intricate details like textures, patterns, and hair.
- Experiment with different pencil grades (e.g., HB for light details, 6B for dark shadows).
Exercise: Draw a textured surface like wood, fabric, or leaves.
Step 8: Practice Regularly
- Set aside 15-30 minutes daily for sketching.
- Experiment with subjects like still life, landscapes, and portraits.
- Join online art communities to share progress and get feedback.
Conclusion
Mastering drawing basics requires patience and practice. Begin with simple shapes, work on shading, and progress to complex subjects. The more you practice, the more confident you’ll become as an artist.
Would you like to explore specific exercises or illustrations to go along with this tutorial?