


Graded Wash Techniques in Watercolor

Introduction:
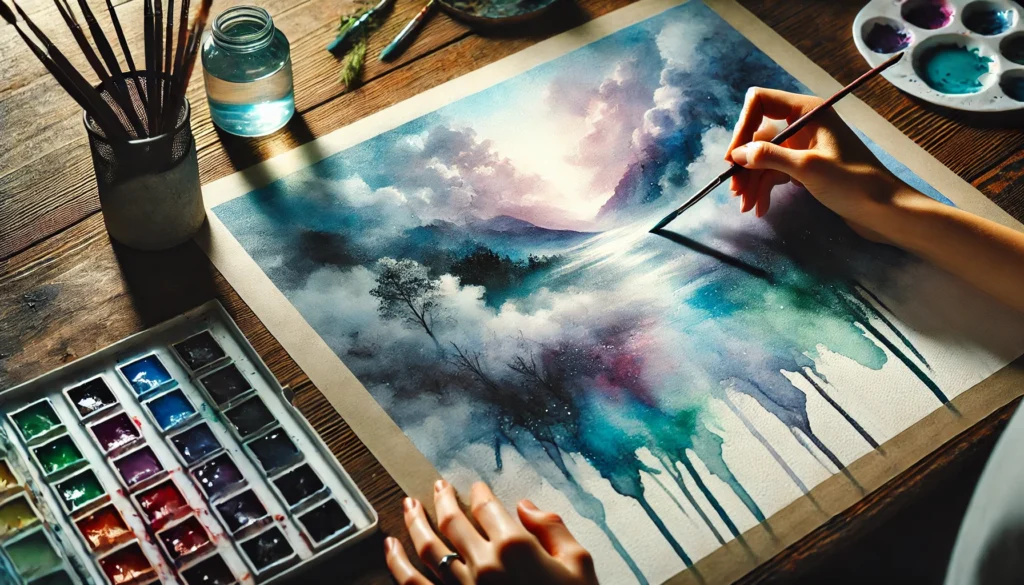
A graded wash transitions from a strong, vibrant color to a lighter or completely transparent area. This technique is essential for creating realistic skies, water, and atmospheric effects in watercolor painting.
Materials Needed
- Watercolor Paint: Any color of your choice.
- Brush: A large round or flat brush (size 10-14 recommended).
- Watercolor Paper: 140 lb (300 gsm) cold-pressed for better absorption.
- Water Containers: One for clean water, another for rinsing your brush.
- Palette: For mixing paint.
- Masking Tape: To secure your paper and create clean edges.
- Tissue or Rag: For blotting excess water or paint.
Step 1: Prepare Your Workspace
- Tape your watercolor paper to a flat surface or board to prevent buckling.
- Slightly tilt your paper by placing an object underneath one end to encourage smooth color flow.
Step 2: Mix the Paint
- Squeeze a small amount of watercolor paint onto your palette.
- Add water to create a smooth mixture with medium consistency (not too watery or thick).
- Test the color intensity on scrap paper.
Step 3: Load the Brush
- Fully load your brush with the paint mixture.
- Make sure the brush is saturated without dripping.
Step 4: Apply the Graded Wash
- Start with Full Intensity:
- Place your brush at the top of the paper and paint a horizontal stroke across the width.
- Apply paint with firm, consistent pressure.
- Dilute Gradually:
- Dip your brush in clean water to dilute the paint slightly.
- Make the second stroke just below the first, overlapping the wet edge to blend seamlessly.
- Repeat the Process:
- Continue diluting the paint with more water after each stroke.
- Overlap each new stroke slightly with the previous one to create a smooth gradient.
- End with Clean Water:
- Once the color fades to a very light tone, finish with a stroke of clean water to blend into the paper’s natural white.
Step 5: Finishing the Wash
- Blot the Bottom Edge: Use a tissue or dry brush to lift any excess paint or water pooling at the bottom.
- Dry Completely: Allow the wash to dry naturally before applying additional layers or details.
Tips for a Perfect Graded Wash
- Work Quickly: Maintain a wet edge to avoid streaks or harsh lines.
- Control Water and Paint: Balance the amount of water and pigment for a smooth transition.
- Use a Larger Brush: Covers more area and ensures even strokes.
- Practice First: Test on scrap paper to gauge the flow and blending.
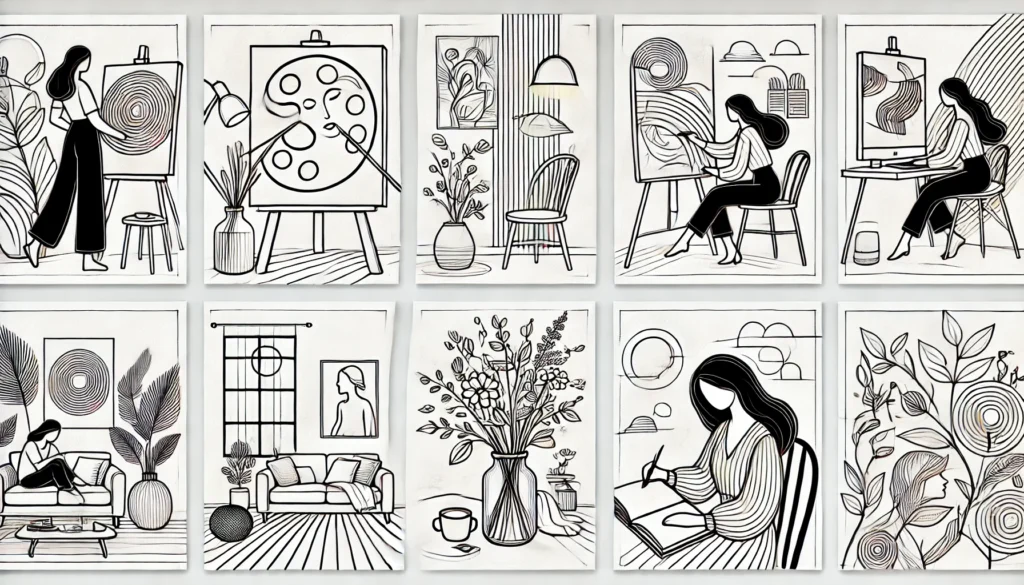
Exercise: Practice Graded Washes
- Single Color Gradient: Transition from full intensity to white (e.g., blue to white for a sky).
- Two-Color Gradient: Blend one color into another (e.g., blue to yellow for a sunrise).
- Multi-Directional Gradient: Experiment with a circular or diagonal gradient for creative effects.
Common Mistakes and How to Fix Them
- Harsh Lines: Work faster and overlap strokes to maintain a wet edge.
- Uneven Transitions: Use more water for smoother blending.
- Pooling Water: Lift excess moisture gently with a tissue or dry brush.
Applications of Graded Washes
- Landscapes: Create realistic skies, oceans, or backgrounds.
- Abstract Art: Add depth and interest with gradient effects.
- Layering: Use graded washes as an underpainting for more detailed work.
Conclusion:
The graded wash is a versatile technique that adds depth and softness to your watercolor paintings. With practice, you’ll master smooth transitions and achieve stunning effects in your artwork.
Would you like a step-by-step project suggestion, such as painting a sunset or ocean scene, using this technique?